![How to use Node.js with Eclipse IDE [Step-by-Step]](/how-to-use-node-js-eclipse-ide/nodejs-with-eclipse.jpg)
This tutorial teaches you how to use Node.js with Eclipse IDE using the
nodeclipse package. We install Node.js and the Eclipse IDE on Ubuntu
before using Node.js with the IDE. You can jump to section 3 if you have
already installed Node.js (section 1) and Eclipse IDE (section 2) on
your system.
Section-1: Installing Node.js
Check if Node.js is installed
Knowing how to use Node.js with Eclipse IDE starts by installing Node.js and Eclipse IDE. First, check for a Node.js installation.
# Check the binaries
$ which node
$ which npm

# or their versions
$ node -v
$ npm -v
Output
user@hostname:~$ which node
user@hostname:~$ which npm
user@hostname:~$ node -v
Command 'node' not found, but can be installed with:

user@hostname:~$ npm -v
Command 'npm' not found, but can be installed with:
Node.js is not installed on the system. We can install the latest version as follows.
Install Node.js from the source
We have already covered this topic in detail inInstall Node.js on Ubuntu 20.04 [3 Different Methods] so we will keep this section short and to the topic:
Update, then upgrade the system.
$ sudo apt update
$ sudo apt upgrade
Install the curl tool before downloading Node.js version 18+ from the sources.
# install curl
sudo apt install curl

# download the files from Node.js sources to Ubuntu repositories
curl -fsSL https://deb.nodesource.com/setup_18.x | sudo -E bash -
Then, install the downloaded files.
sudo apt-get install -y nodejs
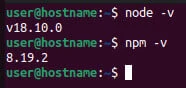
Now let’s confirm the installations.
Input
$ node -v
$ npm -v
Output
user@hostname:~$ node -v
v18.10.0
user@hostname:~$ npm -v
8.19.2
Node.js version 18.10.0 is now installed on the system.
Section-2: Installing Eclipse
Eclipse IDE requires Java installation before being installed on the local machine. Let’s update the system and then install Java Development Kit.
Install Java
We have covered detailed guide on installing Java on Liux, Windows and MAC Platform. So, we will keep this section short by just giving brief command outputs:
$ sudo apt update
$ sudo apt install default-jre
Check the installed JDK version.
Input
$ java --version
Output
user@hostname:~$ java --version
openjdk 11.0.16 2022-07-19
OpenJDK Runtime Environment (build 11.0.16+8-post-Ubuntu-0ubuntu122.04)
OpenJDK 64-Bit Server VM (build 11.0.16+8-post-Ubuntu-0ubuntu122.04, mixed mode, sharing)
Download Eclipse
Get the latest version of Eclipse from the Official Website.
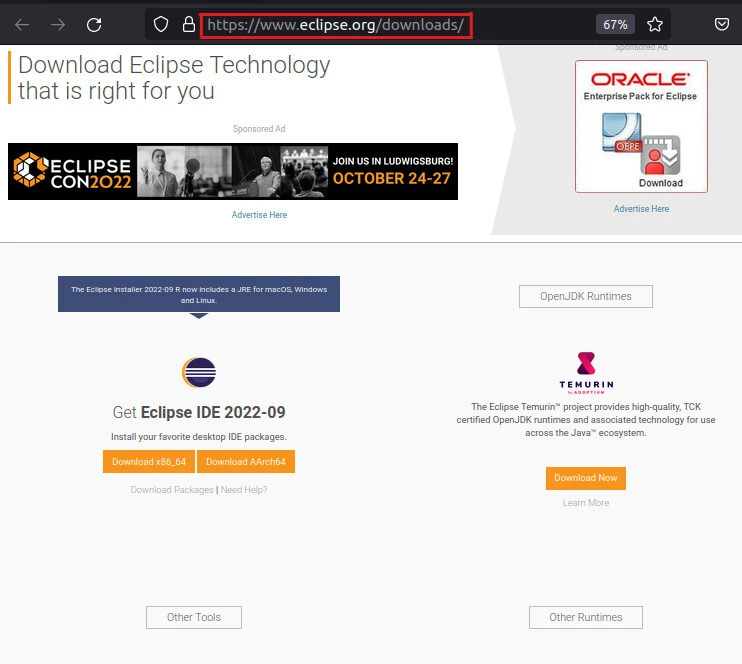
Click onDownload x86_64followed byDownload.

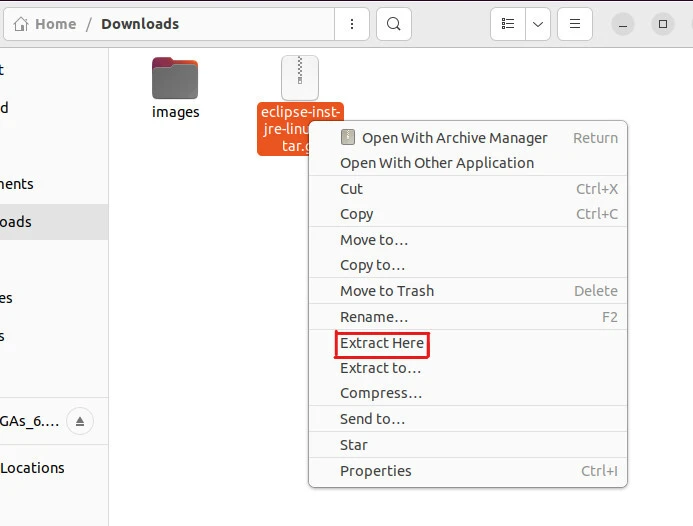
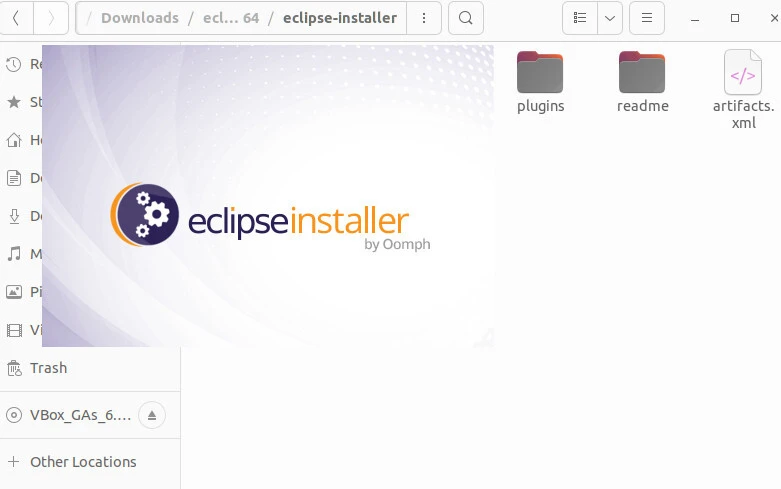
An archived file gets saved in the Downloads directory. Extract the file by right-clicking it and choosingExtract Here.
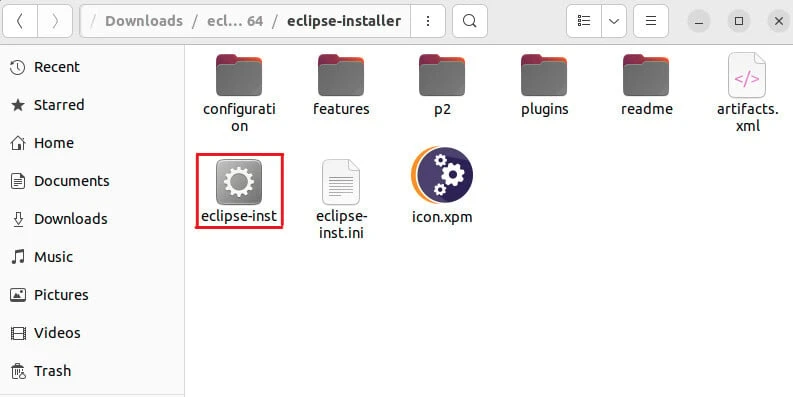
Open the new directory followedeclipse-installer → eclipse-inst.
Install Eclipse
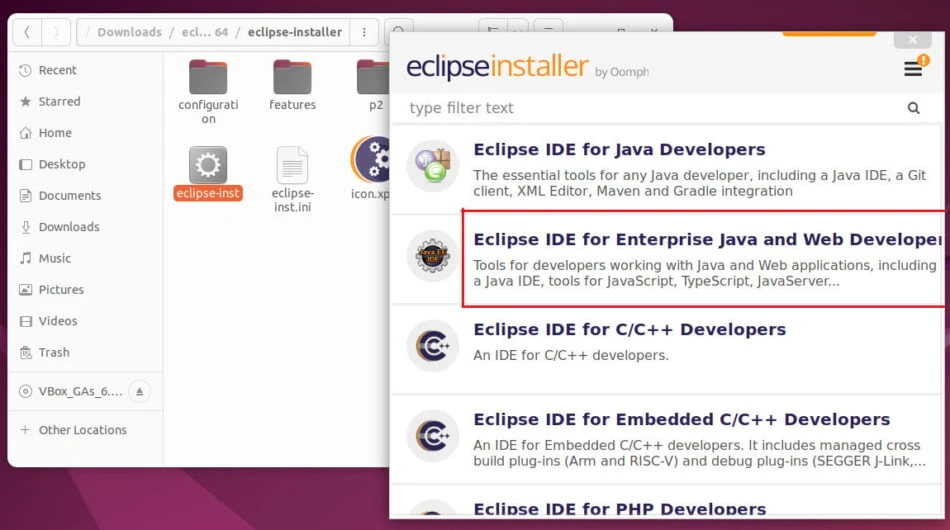
The installer launches.
SelectEclipse IDE for Enterprise Java and Web Developers.
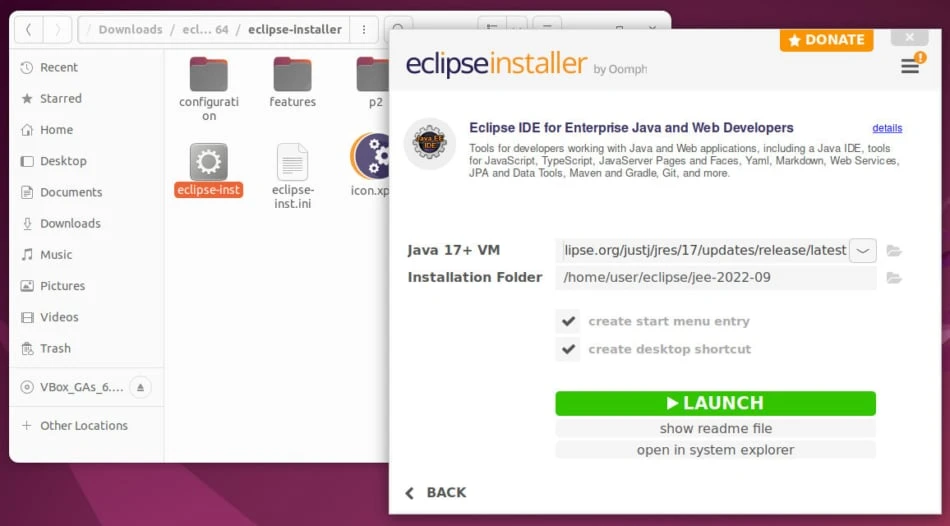
The installer selects the installed Java version. Click on the INSTALL button, then accept the terms and conditions to start downloading the software.

Lastly, we can launch the IDE.
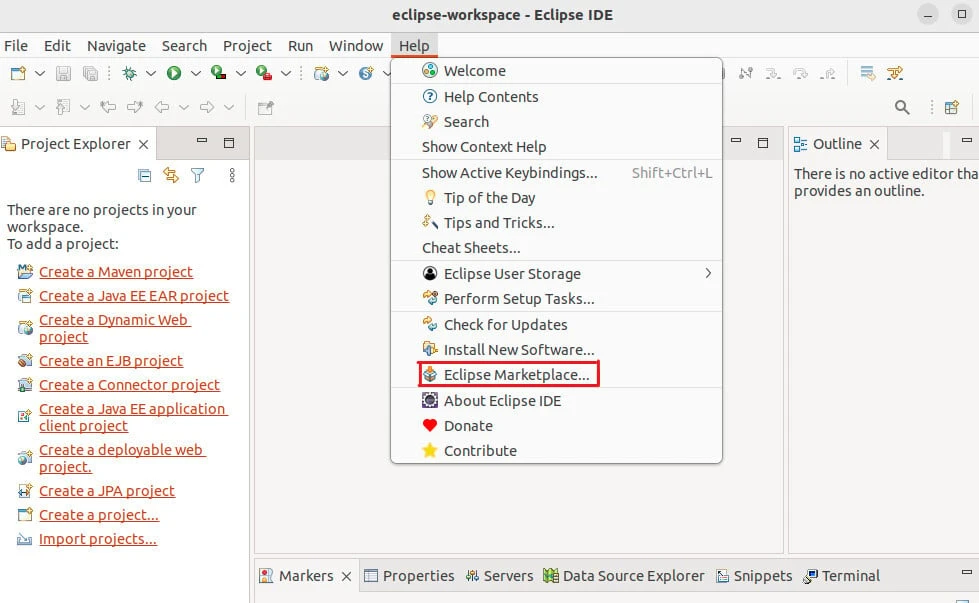
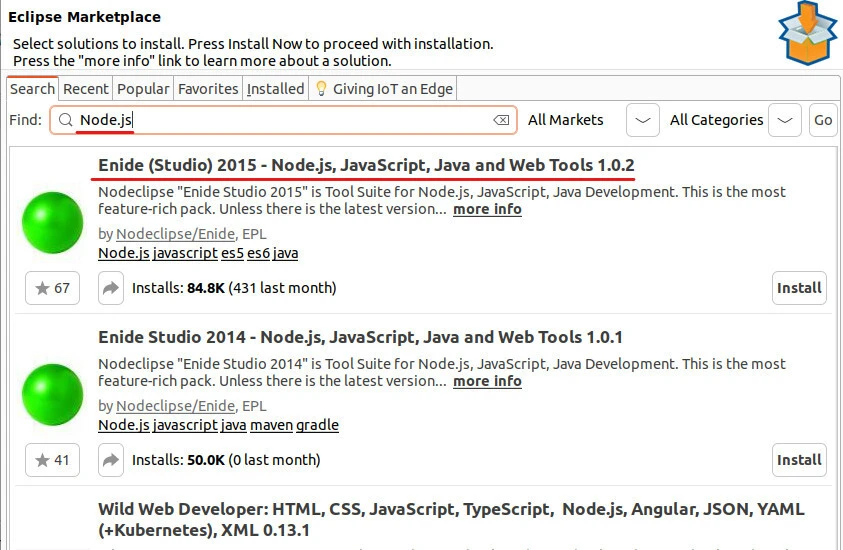
Let’s install a Node.js package to enable us to create a Node.js project on the Eclipse IDE. Go to Help → Eclipse Marketplace.
Search forNode.js.The Enide (Studio) 2015 - Node.js, JavaScript, Java and Web Tools 1.0.2appears.Installit.
Confirm the selected features.
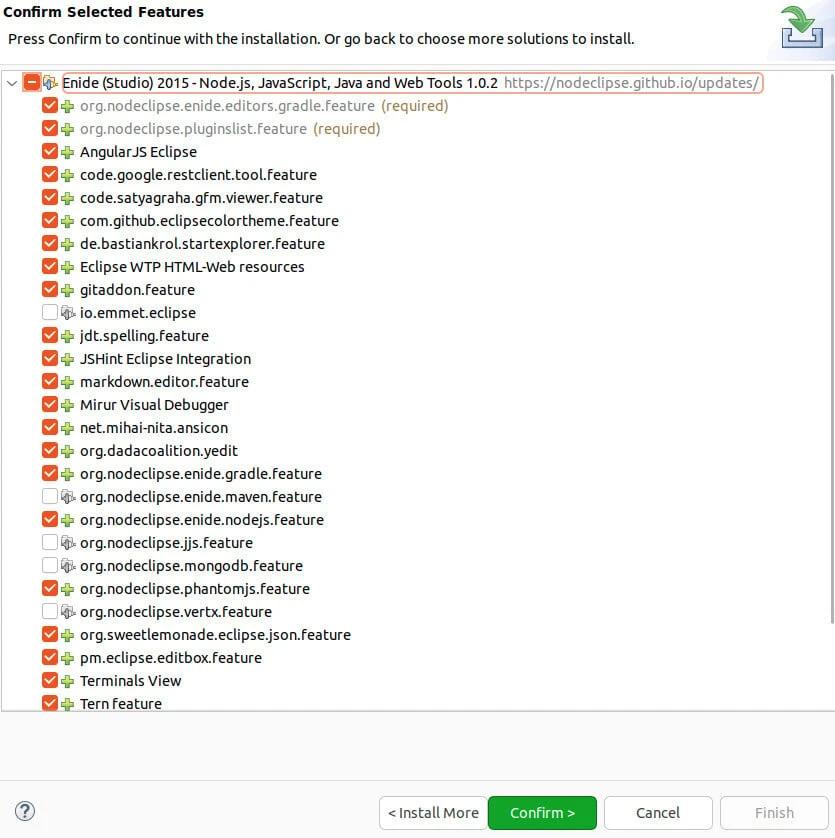
Accept the License Agreement and let the Software be installed. Besides, we can install*Emmet (ex-Zen Coding)*for HTML auto-completion.
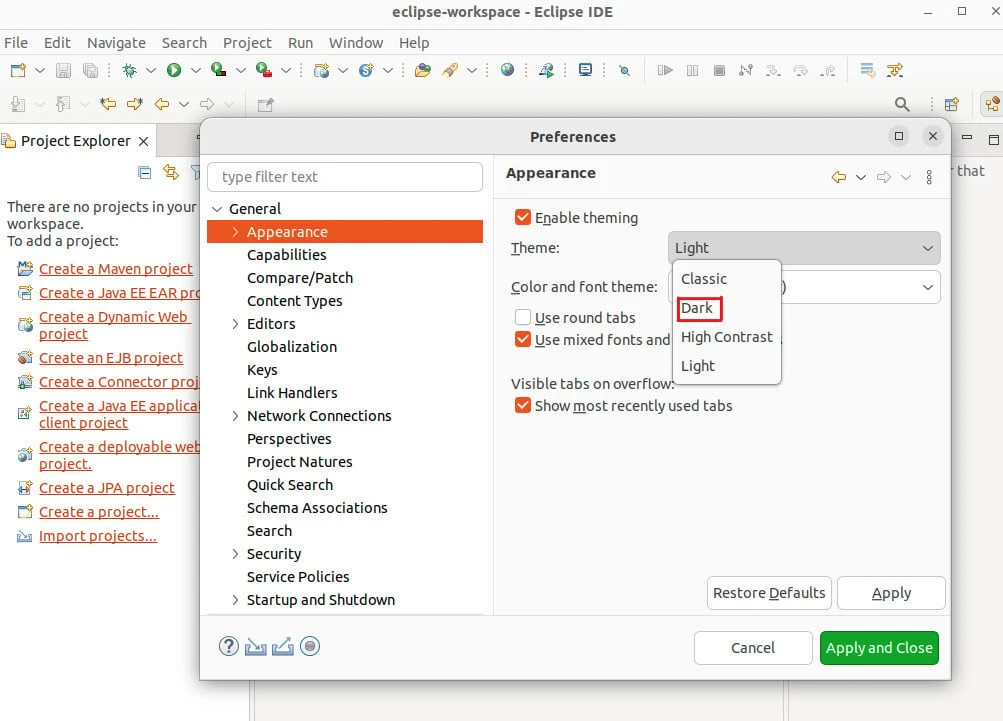
Now we can develop our Node.js web server. Before that, we can switch to the dark theme by visitingWindow → Preferences → General → Appearance, then selectingDarkfrom the dropdown menu. Lastly, click on theApply and Closebutton, thenRestartthe IDE for the changes to be effective.
Section-3: How to use Node.js with Eclipse IDE by developing an Express Web Server
This section teaches you how to use Node.js with Eclipse IDE by loading a styled HTML page using a web server built with the express framework.
Set up a lab environment
Here is the project structure.
Create the structure before initializing an NPM package and installing express.
eclipseNode
├── index.js
└── public
    ├── index.html
    └── style.css

1 directory, 3 files
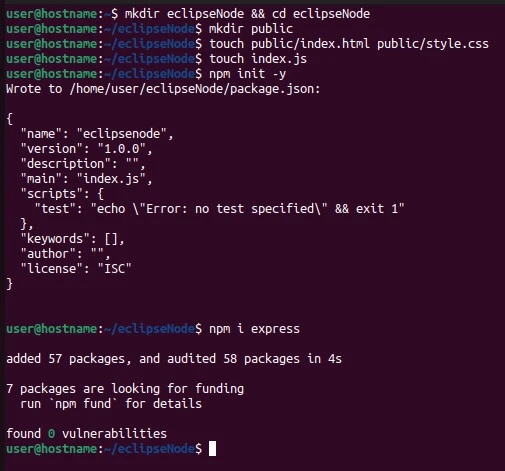
I create the project structure as follows.
$ mkdir eclipseNode && cd eclipseNode
$ mkdir public
$ touch public/index.html public/style.css
$ touch index.js
$ npm init -y
$ npm i express
Import the project in Eclipse
Install nodeclipse package with NPM.
$ sudo npm install -g nodeclipse
The package enables us to use a CLI with NPM, install third-party packages, and runmultiple utility commands.
Input
$ nodeclipse
Output
user@hostname:~/projectDir$ nodeclipse
  Usage: nodeclipse [arguments]
  `nodeclipse --help install` for Nodeclipse CLI Installer Help

Arguments:
-c, --create <name>      create project folder and prepare it
-u, --use <template>     use/copy specified template when creating project
-p, --prepare            prepare Nodeclipse [Node.js] project for import, i.e. add needed `.project` file and other `.*`
                      files ('.gitignore', '.jshintrc', '.settings/') if there is no `.project` yet
-g, --eclipse_project_general   prepare General Eclipse project for import, i.e. add only needed `.project` file
-n, --name [<name>]      project name (default is folder name)
-h, --help               this help screen
-v, --version            print nodeclipse CLI's version
-V, --verbose            be verbose

Templates are just folders in this project sources:
hello-world              The famous hello world HTTP server in 6 lines
hello-coffee             The same server written in CoffeeScript
hello-typescript         The same server written in TypeScript
hello-html               Template with HTML file
template-gradle-java     Gradle Java project
template-maven-java      Maven Java project

Check README.md and sources at /usr/lib/node_modules/nodeclipse or https://github.com/Nodeclipse/nodeclipse-1/tree/master/org.nodeclipse.ui/templates/
For example, we can use the -p option to add a .project directory to
the current working directory.
Input
$ nodeclipse -p
Output
user@hostname:~/eclipseNode$ nodeclipse -p
In Eclipse/Enide select File -> Import... -> General / Existing Projects into Workspace
and enter project directory: /home/user/eclipseNode

  Visit http://www.nodeclipse.org/ for News, post Shares, Installing details, Features list, Usage (incl Video, Demo) with all shortcuts, Help and Hints, Support options, Where Helping needed, How to thank and Contact us, also History page.
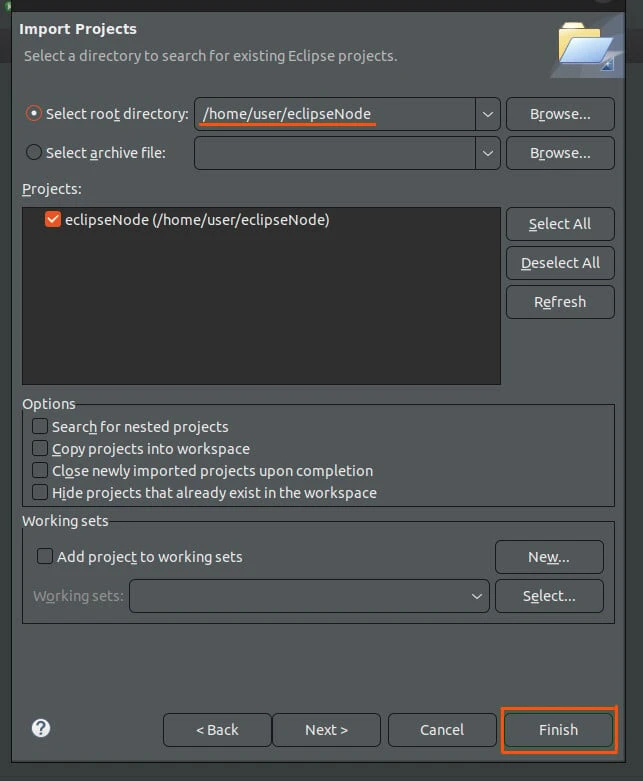
Now launch the Eclipse IDE and import the project directory by following this path:
- File → Import → General → Existing Projects into Workspace.
- Click the*Next >*button and paste the project path into the search box.
- Click on theFinishbutton.
Update the files with the following content.
package.json
{
  "name": "eclipsenode",
  "version": "1.0.0",
  "description": "",
  "main": "index.js",
  "type": "module",
  "scripts": {
    "test": "echo \"Error: no test specified\" && exit 1"
  },
  "keywords": [],
  "author": "",
  "license": "ISC",
  "dependencies": {
    "express": "^4.18.2"
  }
}
We configure the application to use ES modules
"type": "module"
For example, we can import the express module in the index.js file.
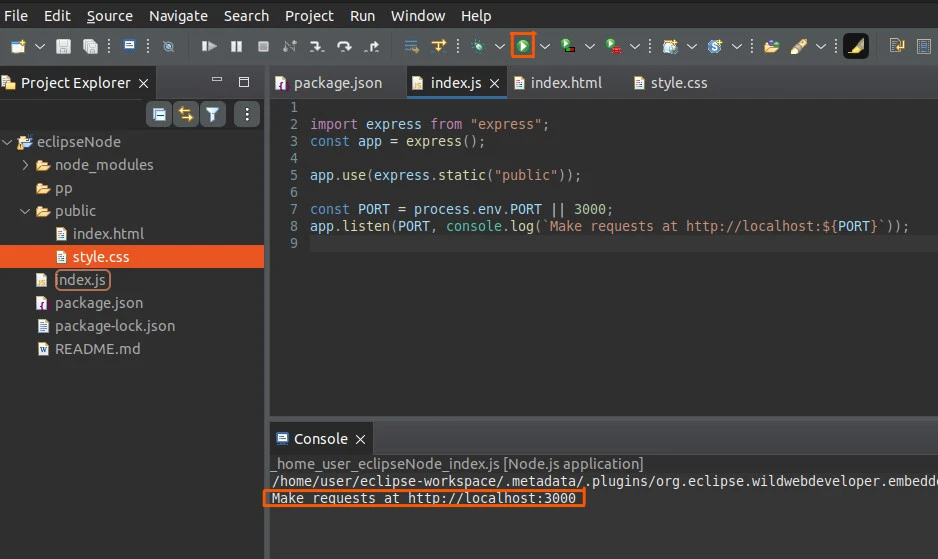
index.js
import express from "express";
const app = express();

app.use(express.static("public"));

const PORT = process.env.PORT || 3000;
app.listen(PORT, console.log(`Make requests at http://localhost:${PORT}`));
We import express and create a web server that listens for requests on 3000. On making a request on localhost, weload static assetsstored in the public folder.
**public →**index.html
<!DOCTYPE html>
<html lang="en">
<head>
    <meta charset="UTF-8">
    <meta http-equiv="X-UA-Compatible" content="IE=edge">
    <meta name="viewport" content="width=device-width, initial-scale=1.0">
    <link rel="stylesheet" href="style.css">
    <title>How to use node.js with Eclipse IDE</title>
</head>
<body>
    <h1>How to use node.js with Eclipse IDE</h1>
    <h3>Learn how to use node.js with Eclipse IDE step-by-step</h3>
    <h4>by loading this page</h4>
    <h5>with an Express web server.</h5>
</body>
</html>
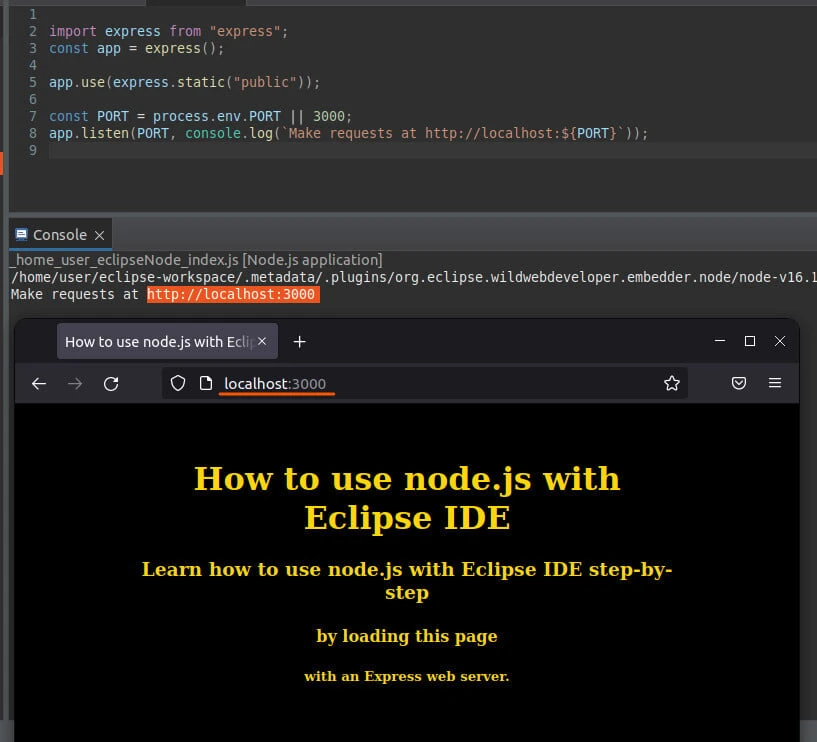
We create a page with four headings. The page is styled with style.css.
**public →**style.css
body {
    width: 70%;
    margin: 7% auto;
    text-align: center;
    background-color: black;
    color: gold;
}
We center the golden text on the page.
Now we can start the server by clicking on the green run button. The console output appears with the message Make requests athttp://localhost:3000.
Open the URL with a browser. We get the expected output.
We can stop the server by clicking on the red button on the right-hand side of the console menu.

Key takeaways
Knowing how to use node.js with Eclipse IDE can be easy if you install the required tools correctly.
For example, this tutorial showed you how to install Node.js and Eclipse IDE step-by-step. Next, you installed Node.js packages and developed a simple web server on the IDE.
Alternatively, you canuse Visual Studio Code,Atom, orSublime.