![How to PROPERLY git squash commits [Practical Examples]](/git-squash-commits/git_squash_commits.jpg)
Different method to perform git squash commits
Doing git squash commits organizes your commit history. The commands to use during interactive rebase or git merge are:
git rebase -i <head>
to join commits, downwards, from the head or
git merge --squash <branch>
to group the target branch’s commits before merging the feature branch with the main one.
On the flip side, you should not use git squash git commits if you plan to recover the mini-commits. We shall do some practice in this tutorial to ease understanding of when and how to use git squash commits.
The need for git squash commits in git workflow
Before diving into the practical usage of git squash commits before git push, you should understand what lies in git merge vs rebase.
You could handle a git workflow with one main branch. You keep adding
files to the staging area and committing them. Sometimes you undo
specific undesired commits or recommit them.
Soon the project has massively grown that you invite other developers to join you, working on various mini-sections of the project. That is when branching comes in.
Your teammates open different branches and commit multiple changes in them. Depending on the merging model, the repo may appear disorganized such that tracking the logical order of commits becomes hectic.
Although git rebases may help create a linear repo, it can lead to more conflicts when many developers keep appending commits to the head of the main branch.
The best solution for either problem is to use git squash commits. The commits entering the main branch become comprehensive and manageable.
Lab setup to explain git squash commits
Let us create a local repo, and a remote one to practice git squash commits before and after push. We use the local repo for squashing with interactive rebase, whereas the remote repo helps with the merge squash.
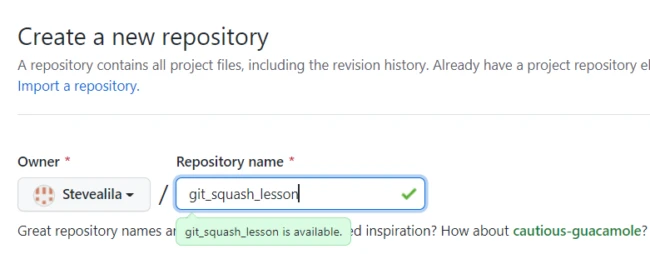
I am creating local repo, squash_with_rebase
mkdir squash_with_rebase
followed by a remote one on Github called git_squash_lesson.
Copy the clone URL
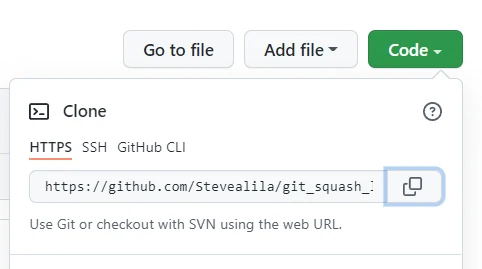
and move to the command line and clone the repo locally.
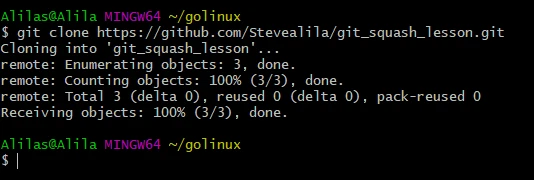
Now that we have two repos to practice git squash commits, let us build and modify them depending on our needs.
Example-1: Use git squash commits before git push (for local commits)
Here we have added some commits to our master branch, you can see the list of commits:
git log
As we are about to push the changes we stop for a second and think, “Won’t the history look nicer if we combined all the python commits into one?”
Sure, let us do that!
Run the command to perform squash commit:
git rebase -i HEAD~3
to act on the last three commits from the head.
Git opens our favourite editor, where we can handle git squash commits. Since my default editor is visual studio code, git opens it.

There are many rebase options, the default active one being pick.
Let us change the two pick options from the top to squash options
before closing the text editor.
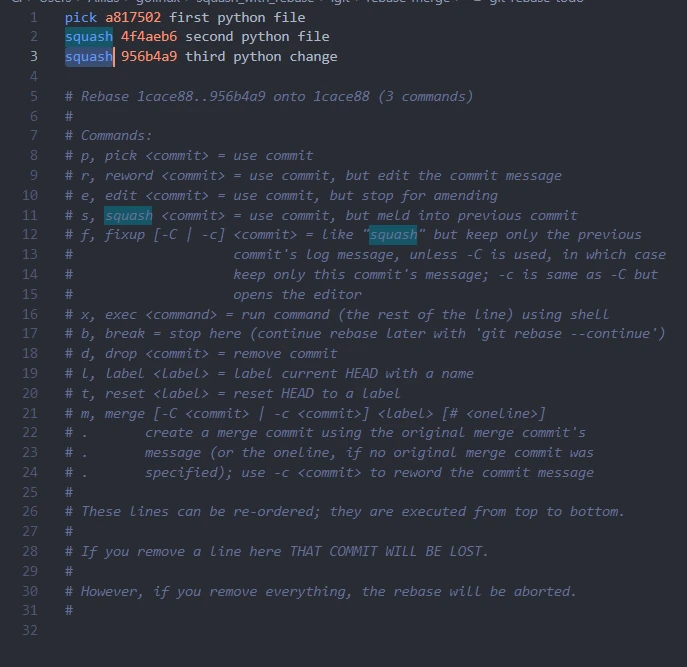
So, what do pick and squash mean in git?
pick is an option asking git to show us the changes at every commit
hash. By replacing pick with squash for 2/3 commits we are telling
git, “Hey git, melt down the 2 squashed commits into the picked
one.”
Save the changes and close the editor.
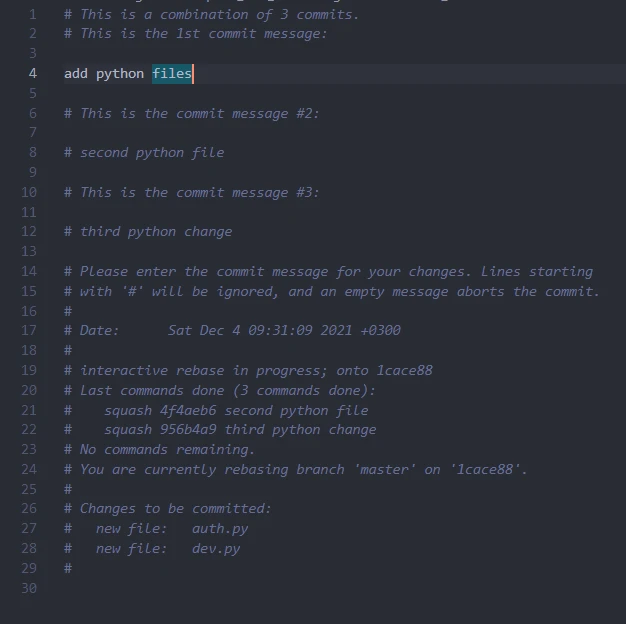
The editor reopens, promoting us for a commit message.
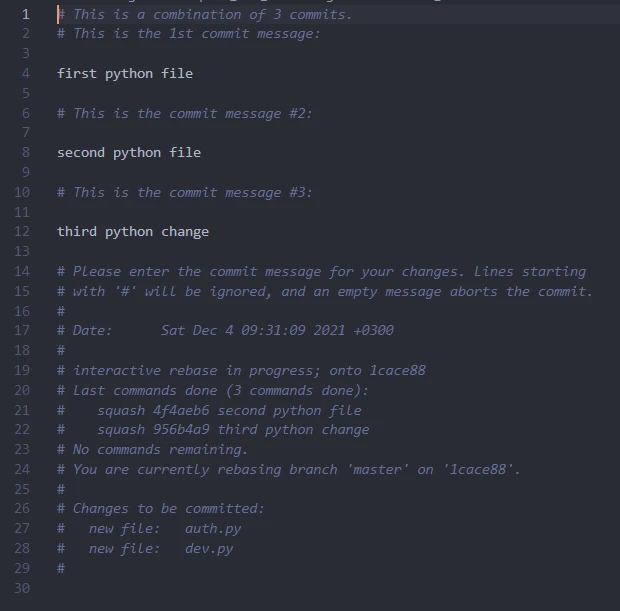
I am commenting out the two last commits and editing the commit message on line 4 from “first python file” to “add python files” then closing the text editor.
You see a success message on the command line similar to the one in the screenshot below
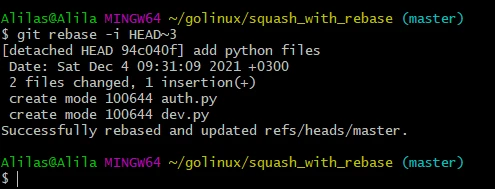
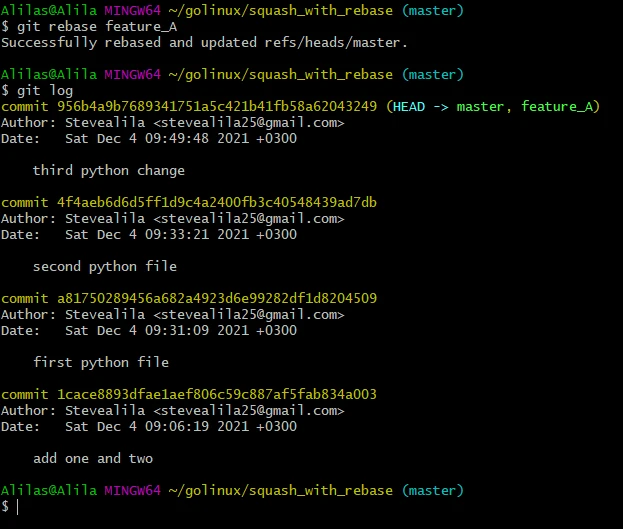
Recheck the history.
git log
Our three python commits got squashed into one with a new commit message.

Let us see a similar scenario with a git merge.
Example-2: Use git squash commits after git push (pushed commits)
You can apply git squash commits after pushing commits to a remote repo using the git merge squash command.
Method-1: Using git merge –squash <branch>
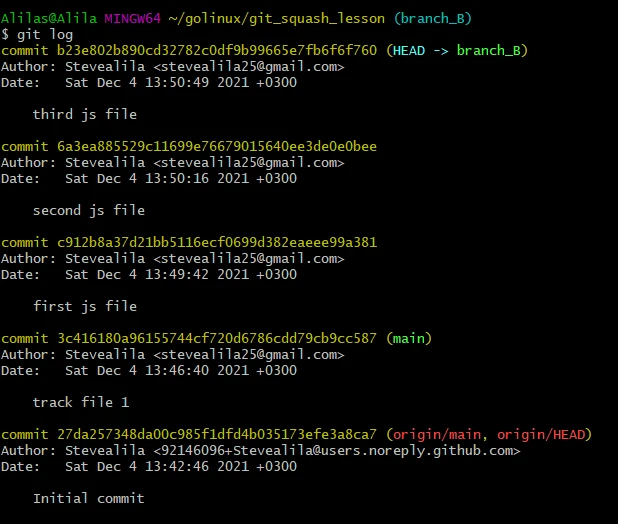
Here we have built up another set of commit history for this example:
git log
shows we have added three js commits to the history.
Let us push the commits through branch_B.
git push --set-upstream origin branch_B
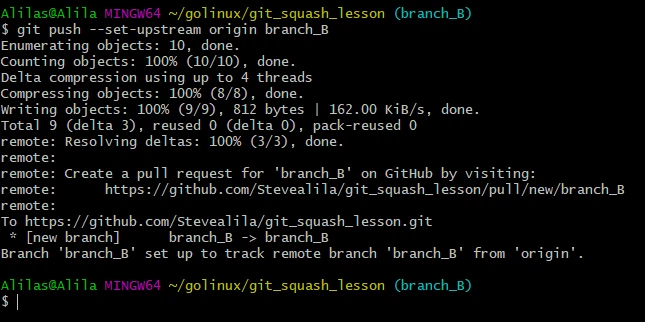
and refresh the remote, then check the commit history in branch_B.
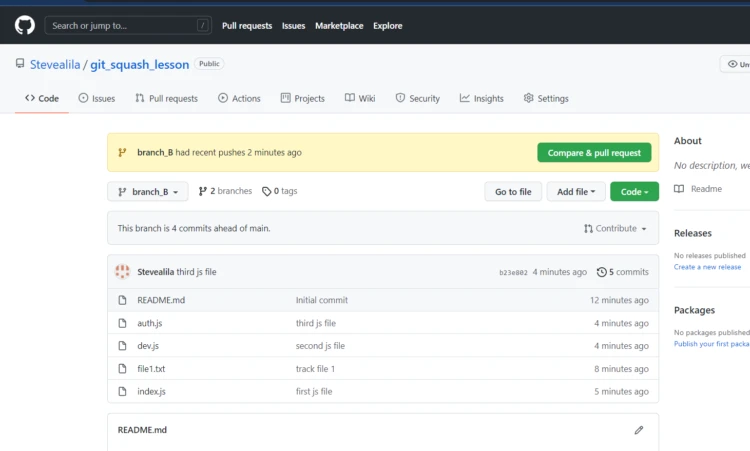
Click, Compare & pull request and follow the guidelines till all the
changes get inserted into the main branch.
Return to the command and continue with git squash commits.
Check out the main branch and complete git squash commits using merge squash.
git checkout main

git merge --squash branch_B
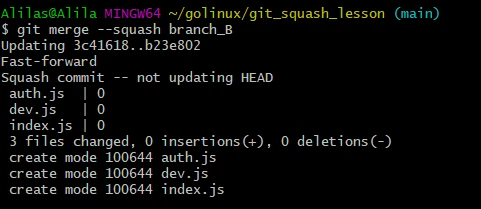
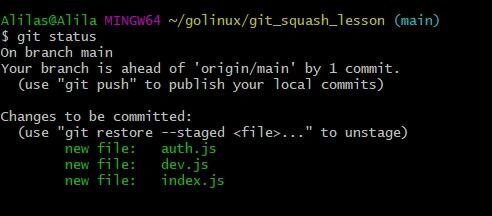
Checking the status shows we have staged files.
git status
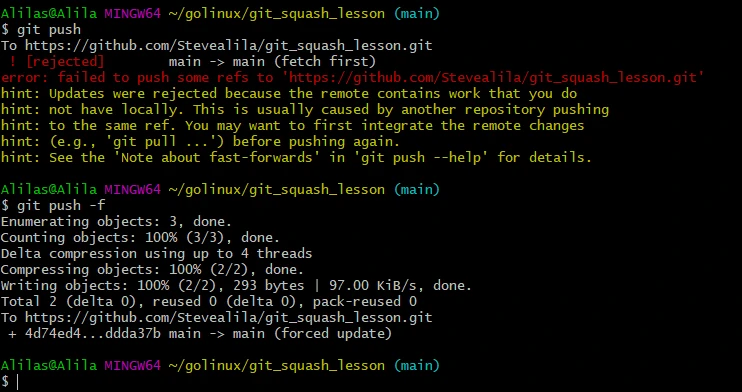
Let us commit and push them with the -f flag to discard the error
message presented.
git commit -m "track js files"

git push -f
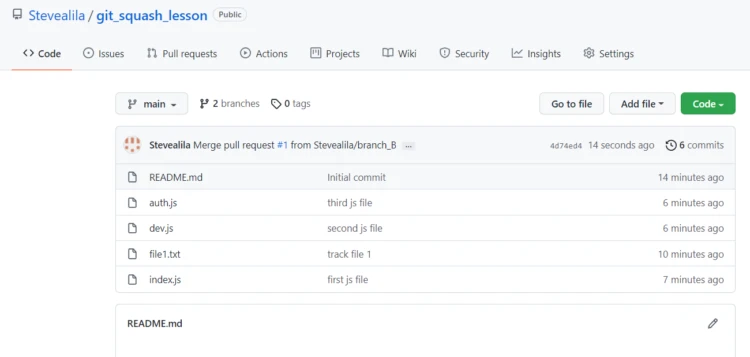
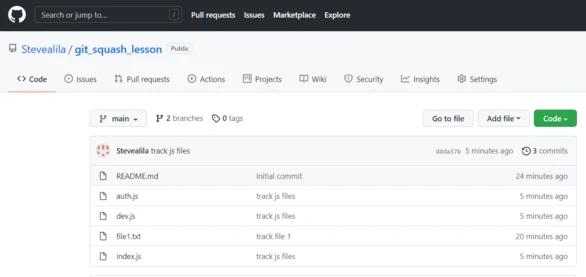
Return to the browser and refresh the remote repo’s page.
All the .js files now have a similar commit message meaning our git
squash commits were successful.
And that is how to git squash commits after push using
thegit merge --squash <branch>command. You can achieve a similar
result by applying the interactive rebase command we learned in
example-1.
Method-2: Using git rebase
This method is similar to what we did in Example-1 with local commits. To achieve this:
- You can create a new branch from the current one using the command:
git branch test_branch - Checkout the new branch using
git checkout test_branch - Perform the squash as we had explained using
git rebase -i HEAD~nwhere n is the number of commits from the most recent commit that you want to include in the squash. Please NOTE that you must set the command “squash” or “s” on each of the commits you want to squash, and “pick” to the commit you want to retain. - After the rebase, you may need to force push your
test_branchto the remote repository using:git push -f origin test_branch - Finally, you need to have other team members working on the same repo
that pulled the commits you just squashed, to update their local
repositories with the new state of the branch using
git pull origin test_branch. This may cause conflicts which they will have fix locally and update the remote branch.
Conclusion
You have just learned how to tidy up your commit history through git squash commits. Now is the time to simplify your file tracking by practicing the tricks you learned in this tutorial.